We picked up the trailer from the dealership in mid April of 2021. While the floor plan is excellent, there were some things that needed adjusting to make it a better home for us.
The Bathroom:
First items were in fitting up the bathroom. The RV had a single towel bar. Rob built a light weight board which could use the original towel bar hole spacing, and enable us to mount a triple towel bar. He then made extra shelves for the medicine cabinet which enabled us to store all the little pill bottles we need these days. Lastly, Deryl found a toothbrush and bathroom cup holder which mounted to the wall with Command Strips™. It turns out that Command Strips™ are an RVer’s best tool. They stick to the thin walls, do not require holes, and are able to be removed without damaging the wall covering.
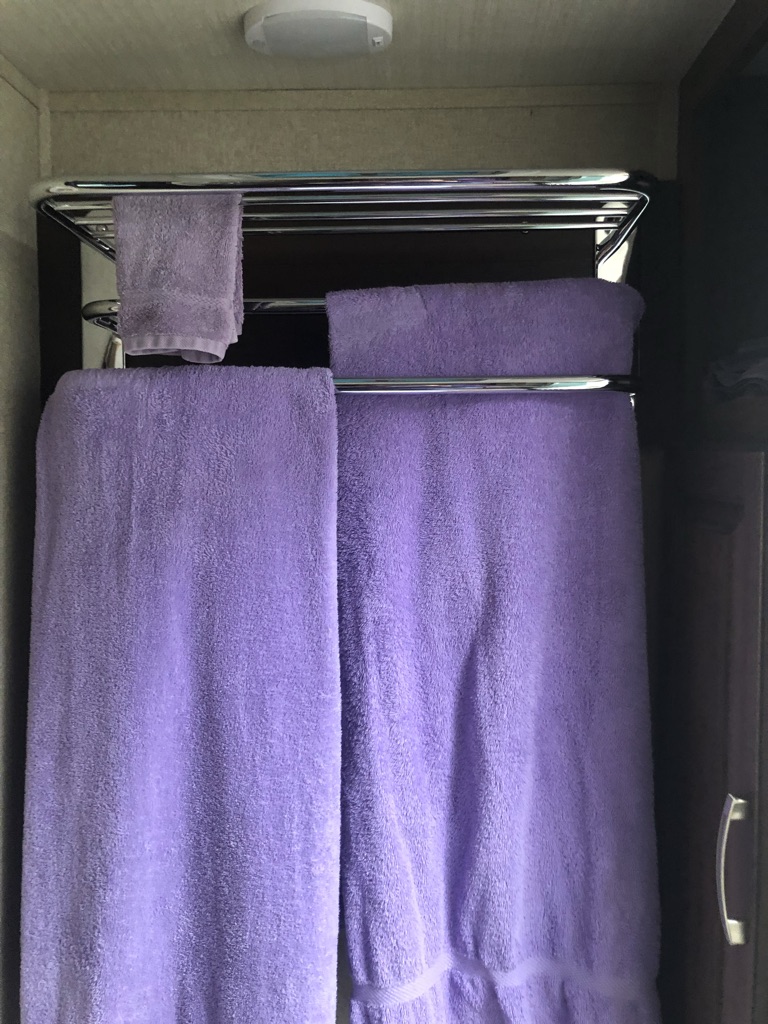
a tripple towel bar 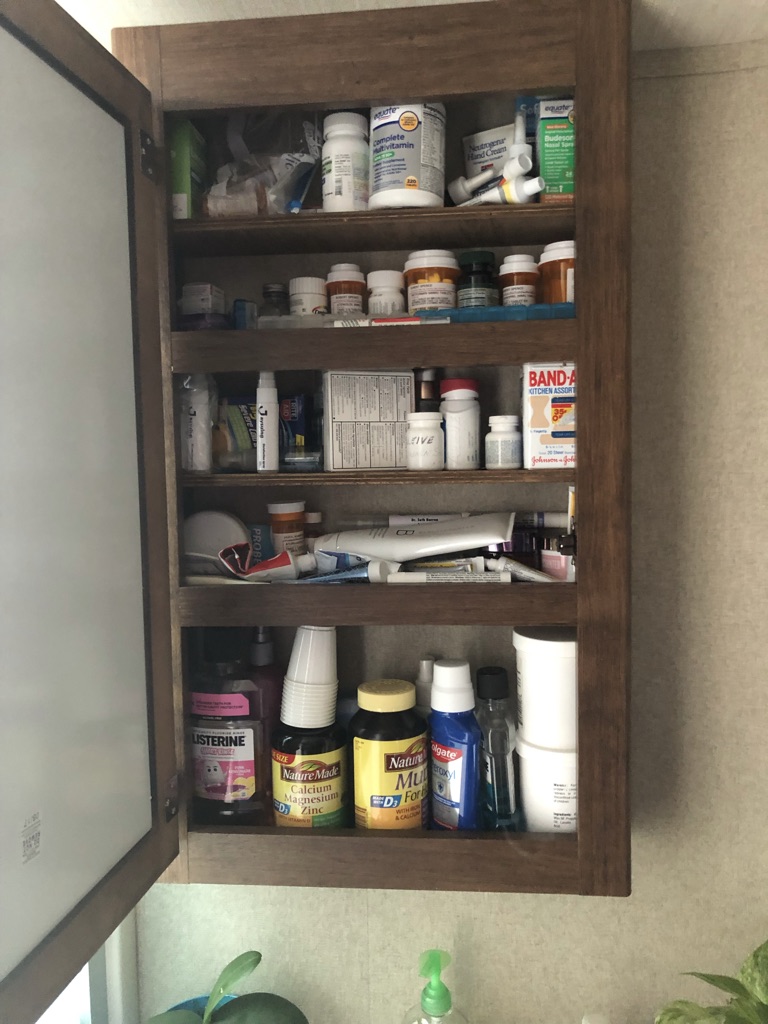
shelves in cabinet 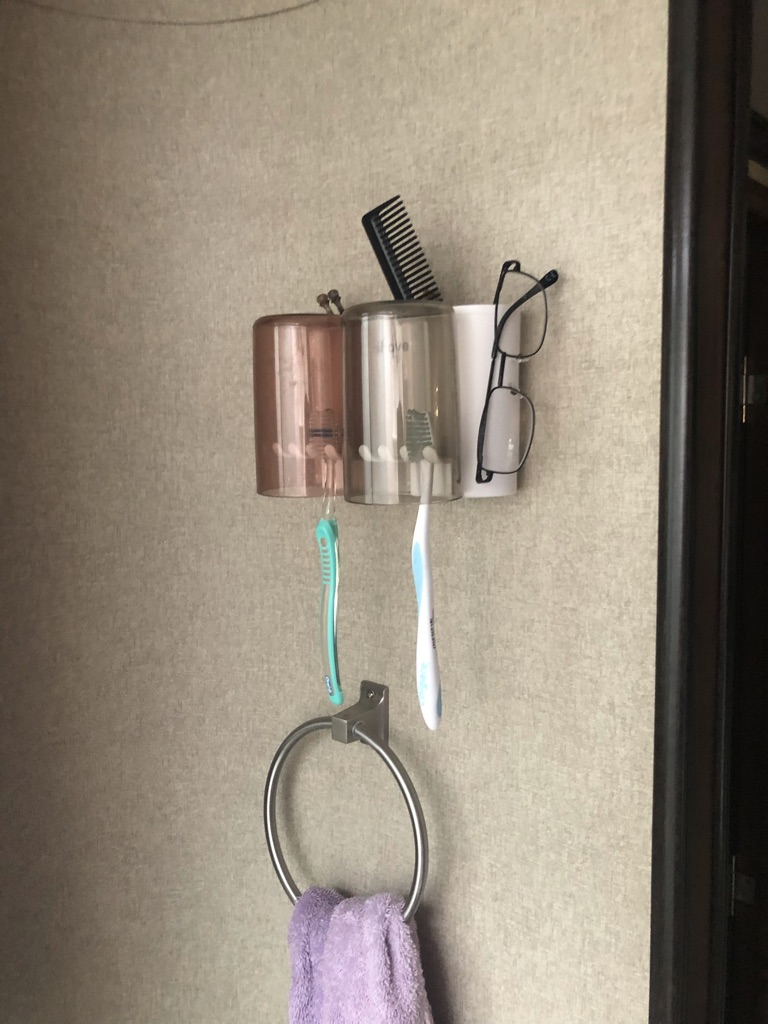
Toothbrush holder
The Kitchen:
The next area of focus was the kitchen. Between the numerous tasks that Rob and Deryl were doing to get the house on the market, Deryl found time to purchase, and install a number of kitchen organizational features.
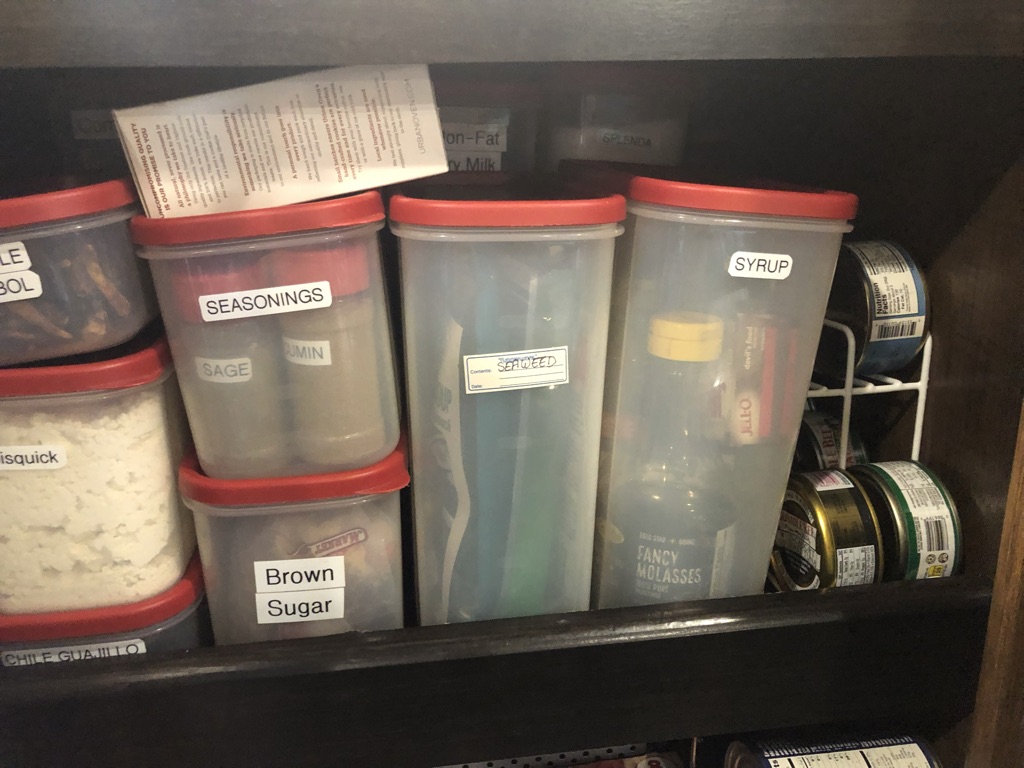
Rubbermaid Storage 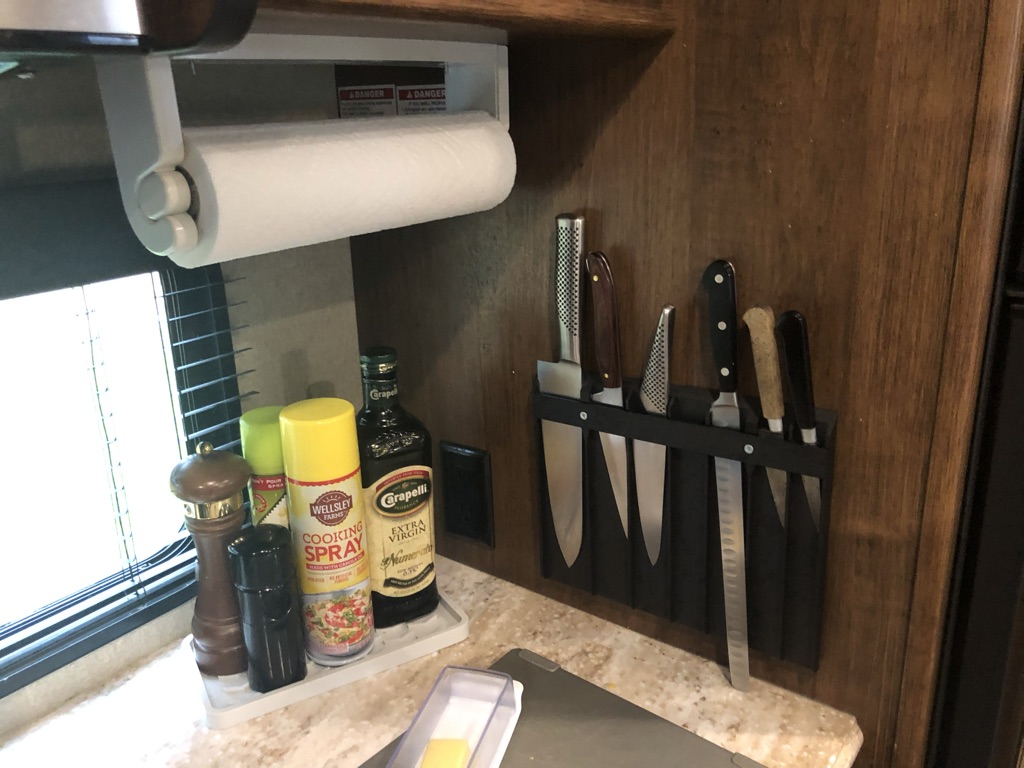
Camco Knife Safe 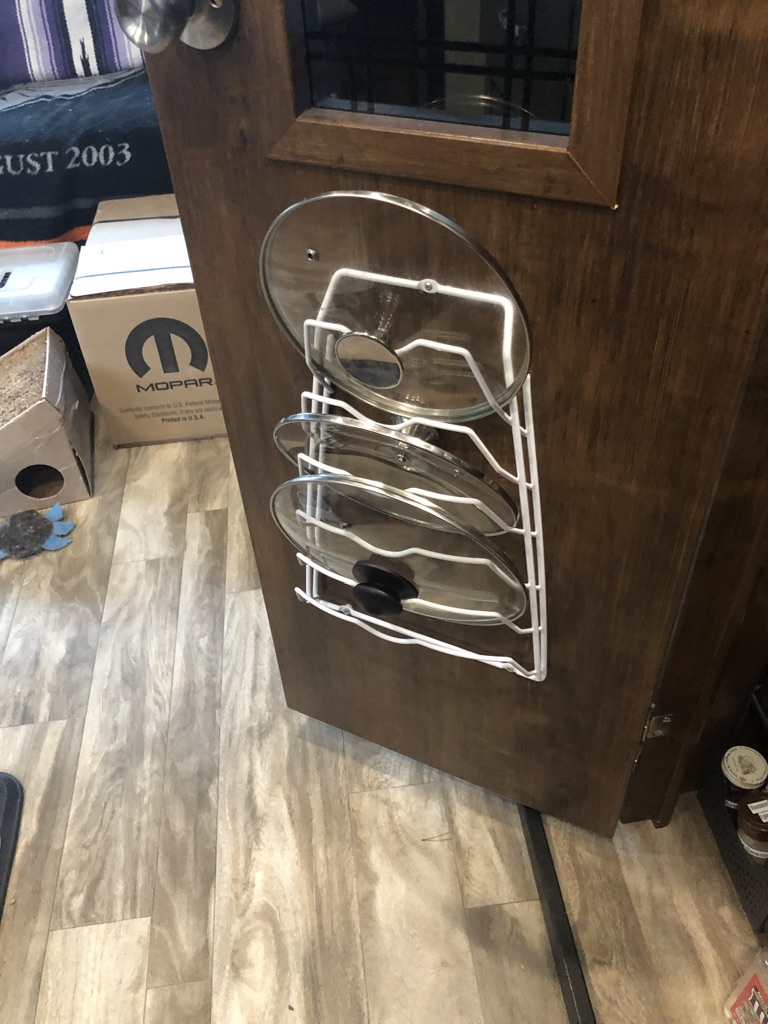
Pot Lid Rack 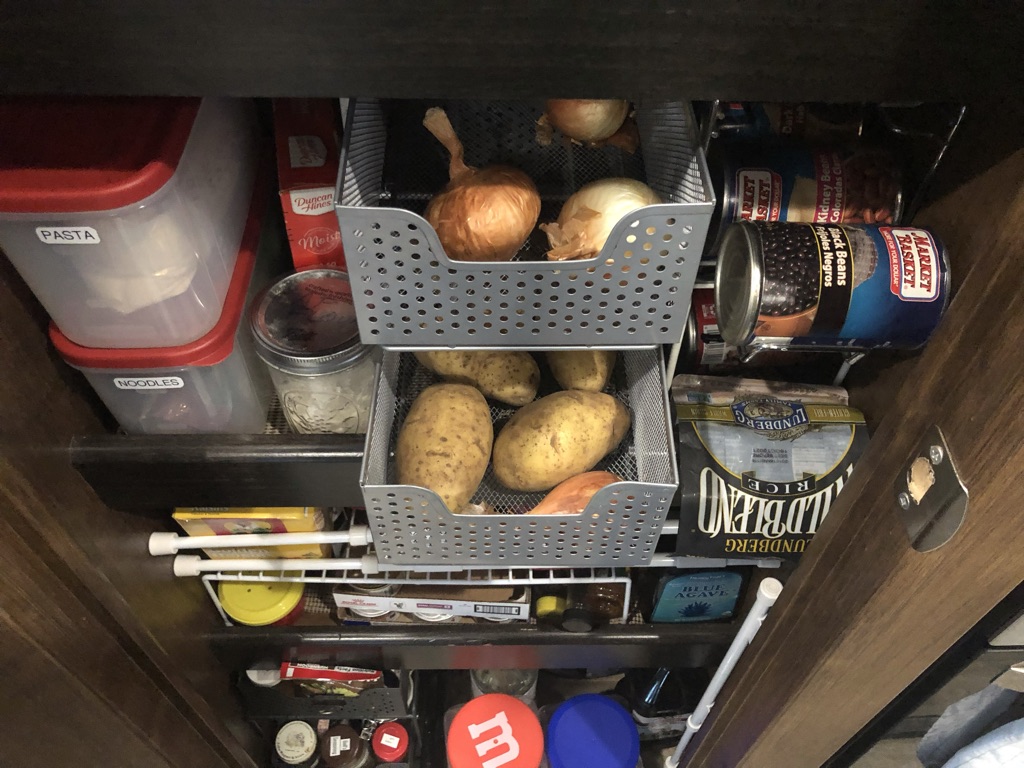
Small Stacked Drawers 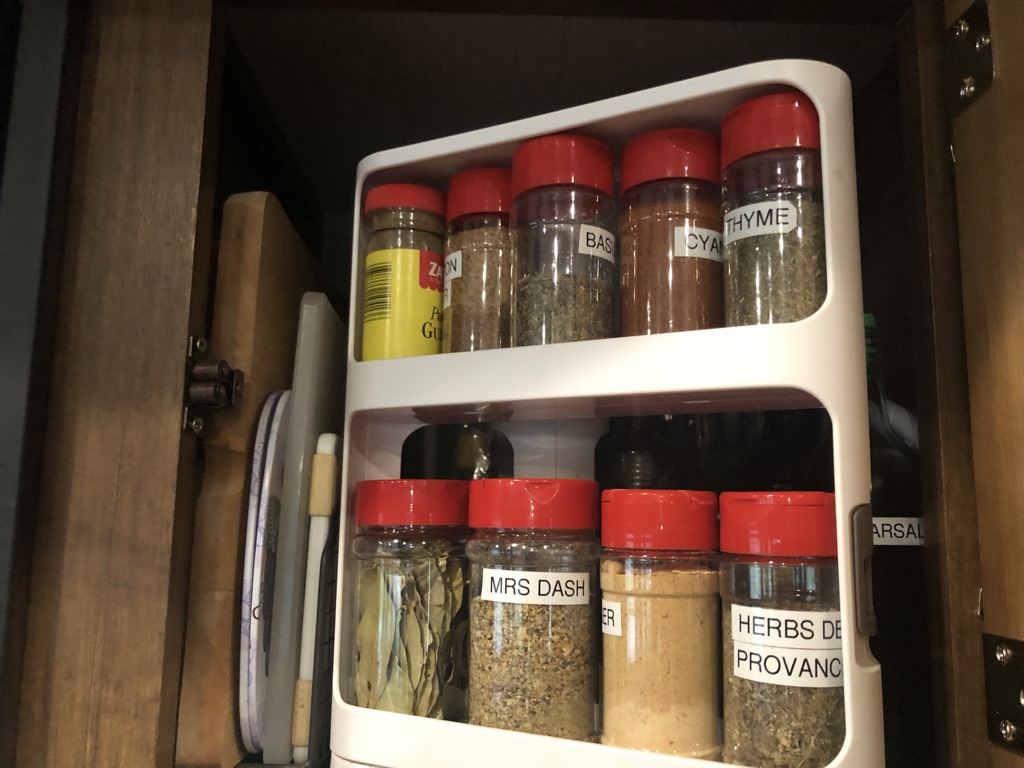
Magazine Rack for cutting boards & rotating spice rack
Rob made time to build organizational draw inserts custom fit to the drawers in the trailer. This used up some of his exotic wood stock out of his wood working shop, resulting in less to move.
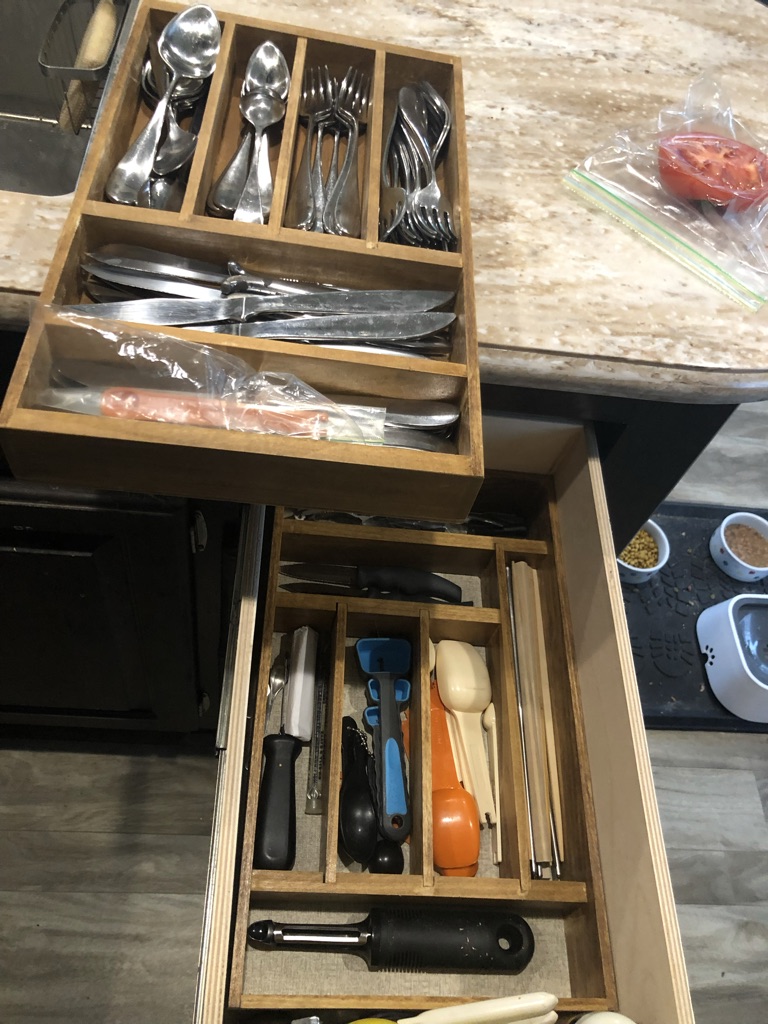
Stacked drawer inserts 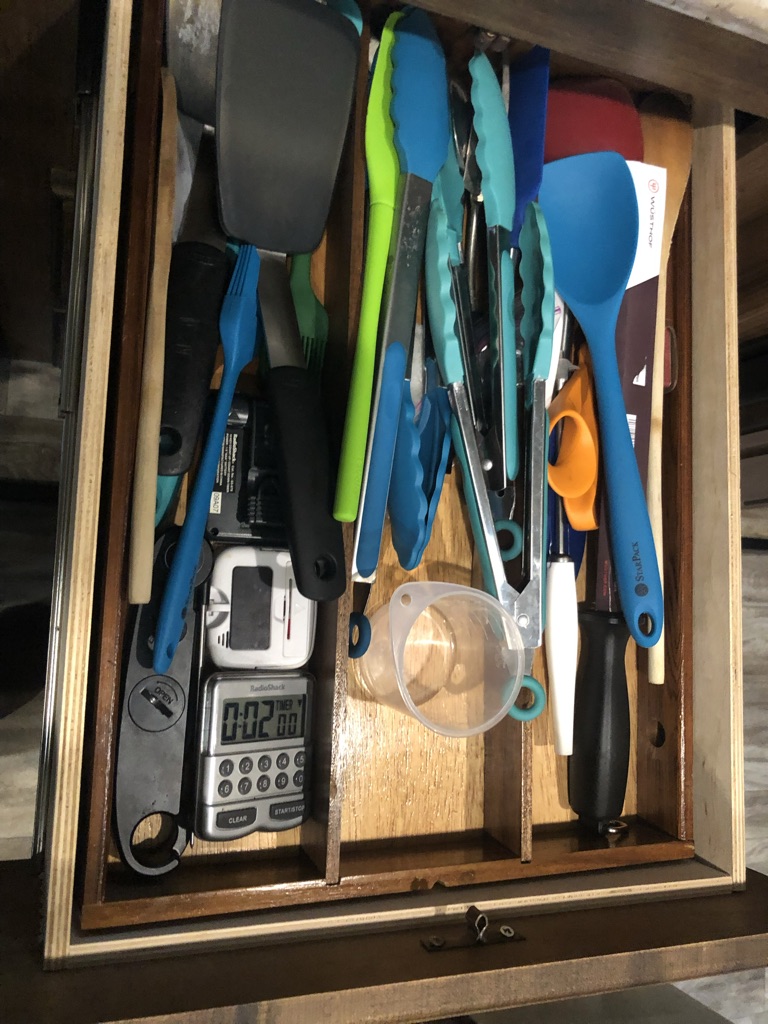
Stacked tool drawer insert
Other household improvements:
Rob built a shelf for the cabinet in the hutch to double the useful storage for the “Bar”. He then built a large box, reusing some port case bottle supports, to store wines under the sofa creating “The Wine Cellar”.
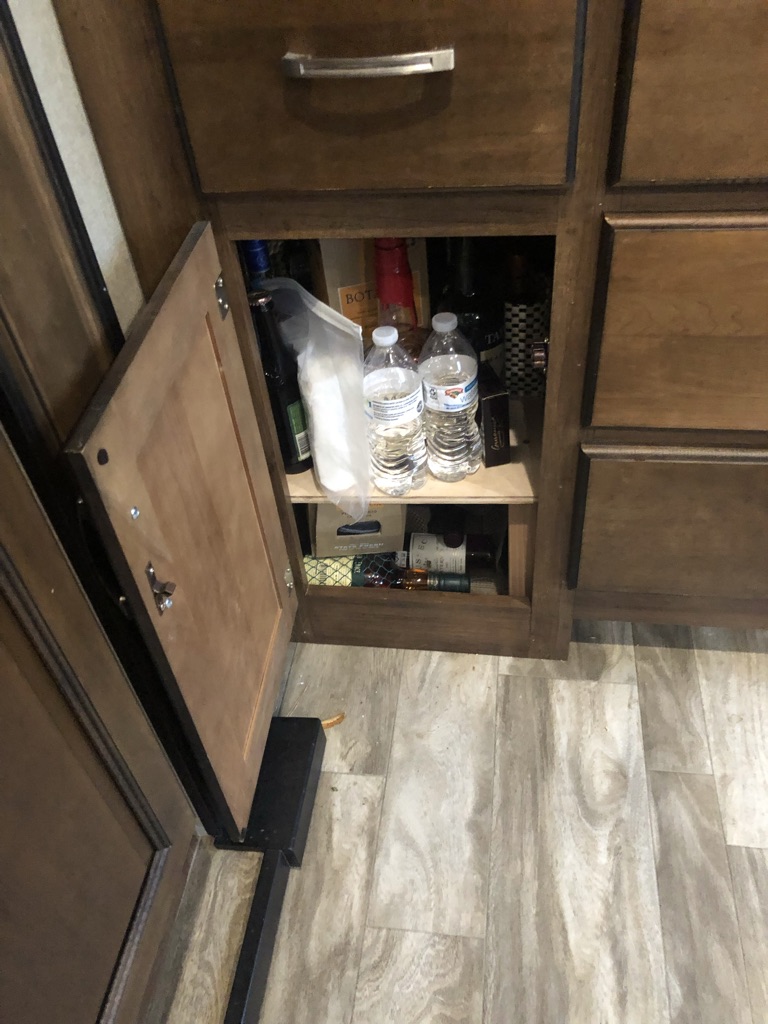
Shelf in the liquor cabinet 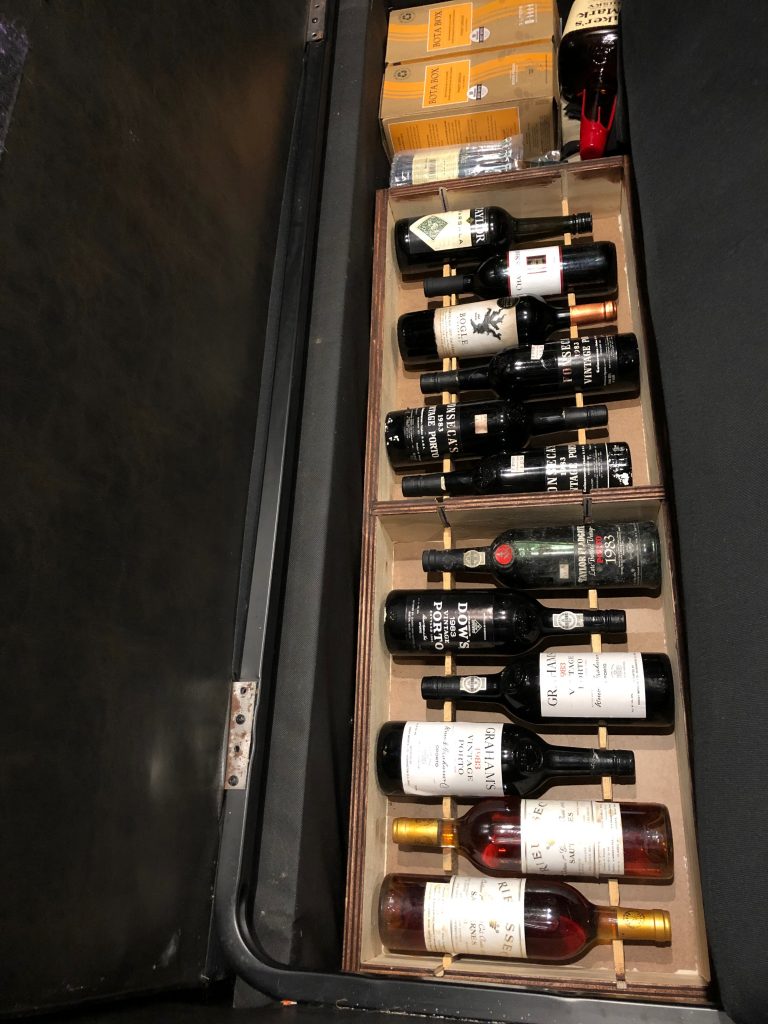
Wine Cellar under sofa
In other cabinets, Deryl used Rubbermaid kitchen cabinet racks to increase dish and glassware storage. The end result has been efficient use of all the built-in cabinets.
The CatOman:
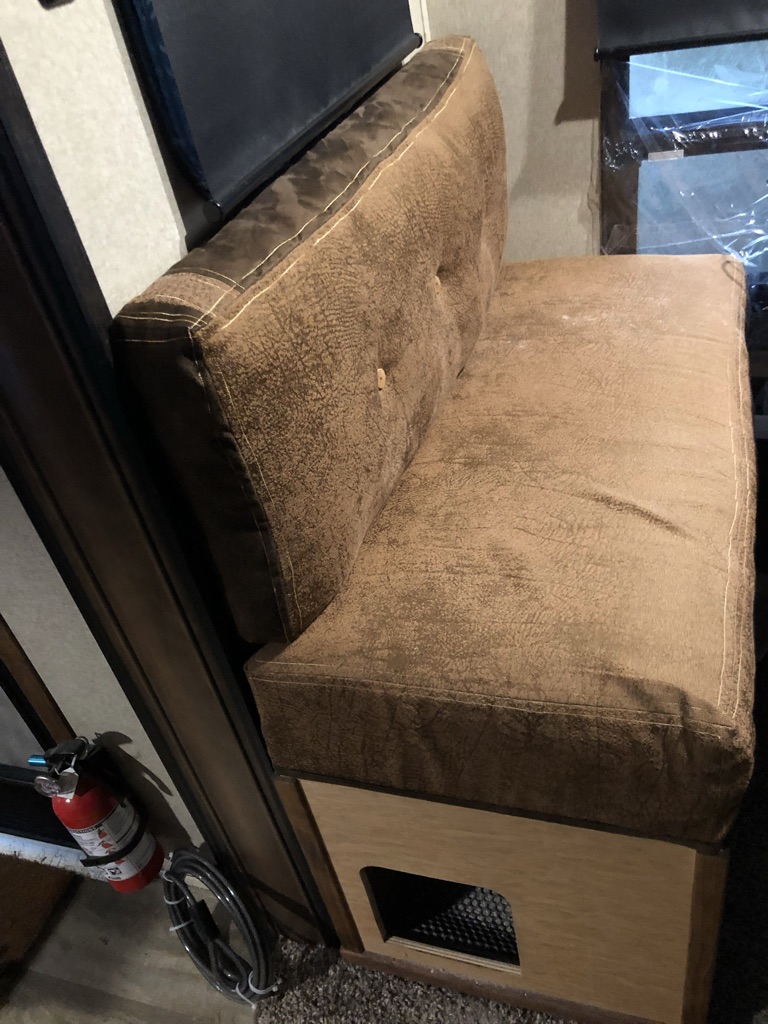
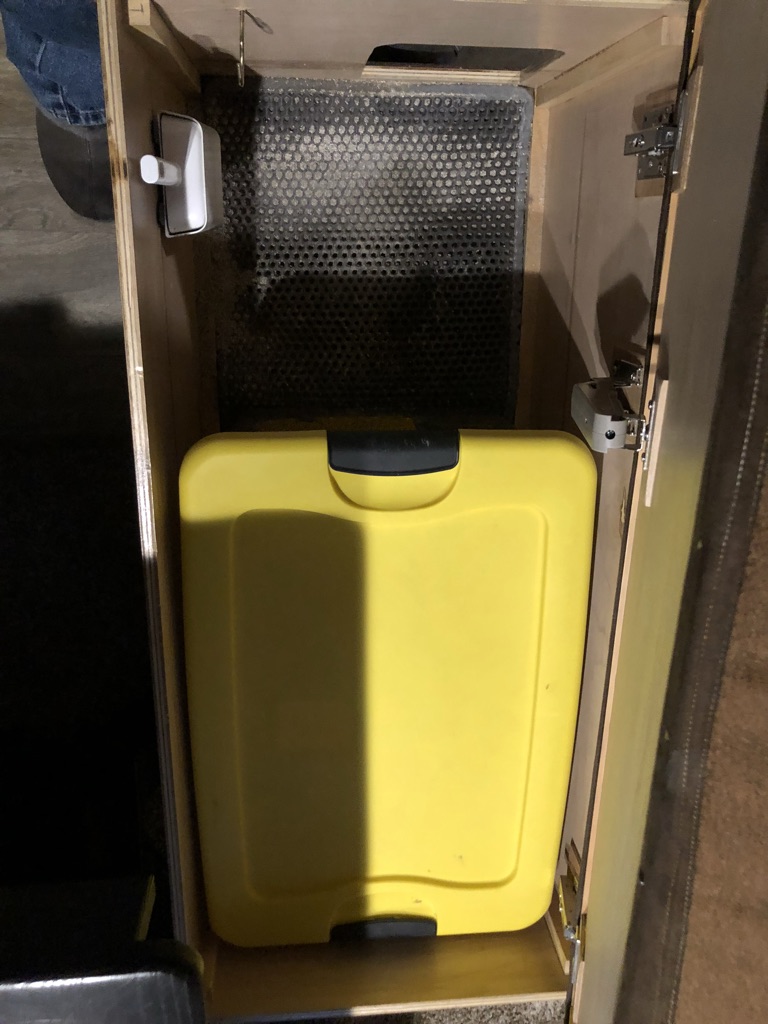
We will be taking the cats with us in the trailer, so they will need a litter box some where in the trailer. Deryl searched the internet for what other people had done to accommodate their cats. Eventually the idea that seemed like it would work the best for us was to build an ottoman bench, in which the cat’s litter box could be located.
By removing two chairs from the dining table, and putting them into storage, created enough space to locate this “ottoman”. Rob built the wooden box with a hole in one end for cat access. Deryl upholstered the top of the box, and the seat back (which we mounted to the wall). A purchased plastic tub, with a hole cut in one end then became the litter box itself, and a mat inside the “ottoman” foyer to collect litter on the cats way out. Ta Da! The CatOman was built.
Internet connectivity:
In expectation that there may be areas where one carrier may have less service than another, we split our cell phone service to two carriers back in May. We shopped for a carrier with an “unlimited” data plan that would allow the most hotspot data.
Deryl purchased a second iPhone, when she signed up with T-Mobile, in order to have double the hotspot data of her single phone. This also provided a second sim card we would be able to use when Rob found a cellular router. Rob already had a secondary sim card, in his iPad.
The two extra devices helped us connect to the internet, however none of the phone level antennas provided sufficient signal strength for reliable connectivity. Rob then started the search for a better solution.
Rob had found a Cellular to WiFi modem/router to provide us internet service in the trailer. There are several manufacturers that are building cellular routers for the taxi, bus, and train industries. These devices are designed to enable passengers to connect to WiFi while traveling. After a lot of research and consultation with experts in these devices, Rob chose a unit from Peplink.
While our router is considered entry level, it allows us to install 2 sim cards, and switch between the two carriers, and then provide WiFi service locally. The router also allows us to connect external antennas, and further increase our cellular signal strength.
The Peplink now moves between the trailer and the truck on moving days providing internet where ever we are.
New Batteries:
The trailer came with the original “House” battery. It was a lead acid battery, that had been charged and drained numerous times, as well as allowed to freeze over the winters. While the battery still worked, it did not provide enough 12-volt electricity for deploying the slides, and running the RV’s lights for long. After doing a lot of research, Rob determined that a full solar system, battery controller, and lithium batteries might be ideal, the price to upgrade to that system was higher than we budgeted. He then studied other battery replacements. The conclusion was to replace the single lead acid battery with 2 6-volt golf cart batteries hooked up in series to provide the 12-volts the trailer needs. He also concluded that the newer Absorbed-Glass-Mat “AGM” batteries, are sealed batteries where the ultra-thin lead plates are cushioned by glass plates, and valves regulate the amount of hydrogen and oxygen gas allowed to escape during charging. In addition to being AGM batteries, golf cart batteries are designed for systems where you need long draws of moderate amount of electricity over time, rather than the typical car battery which needs to provide a lot of electricity for a short (engine start) draw before recharging. We took the old battery to Batteries Plus Bulbs and purchased two new AGM batteries. Rob hooked those up in series and added a battery monitor to the system so we can see how much we are drawing and recharging.
Art work:
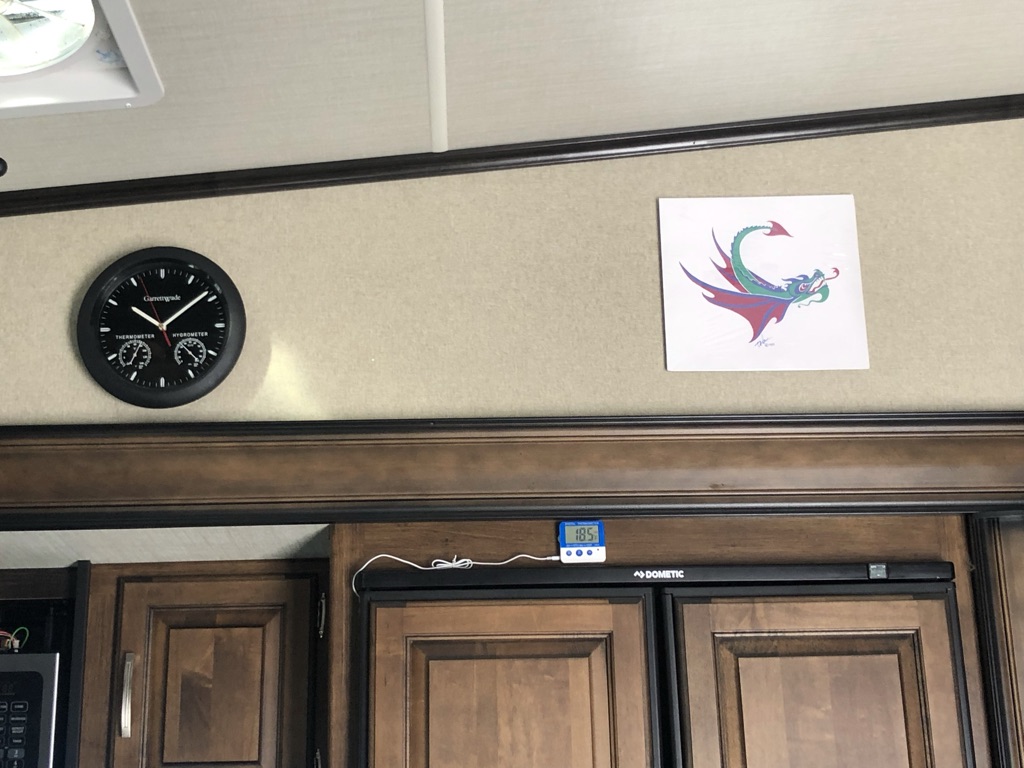
While cleaning out the house in Carlisle, Deryl found a number of posters that were mounted on poster board (instead of framed) that would be light weight artwork to hang in the trailer. She mounted these posters around the trailer using 3M Poster Tack. She also added a clock. The addition of artwork furthered making the RV into a home.
The Burrito:
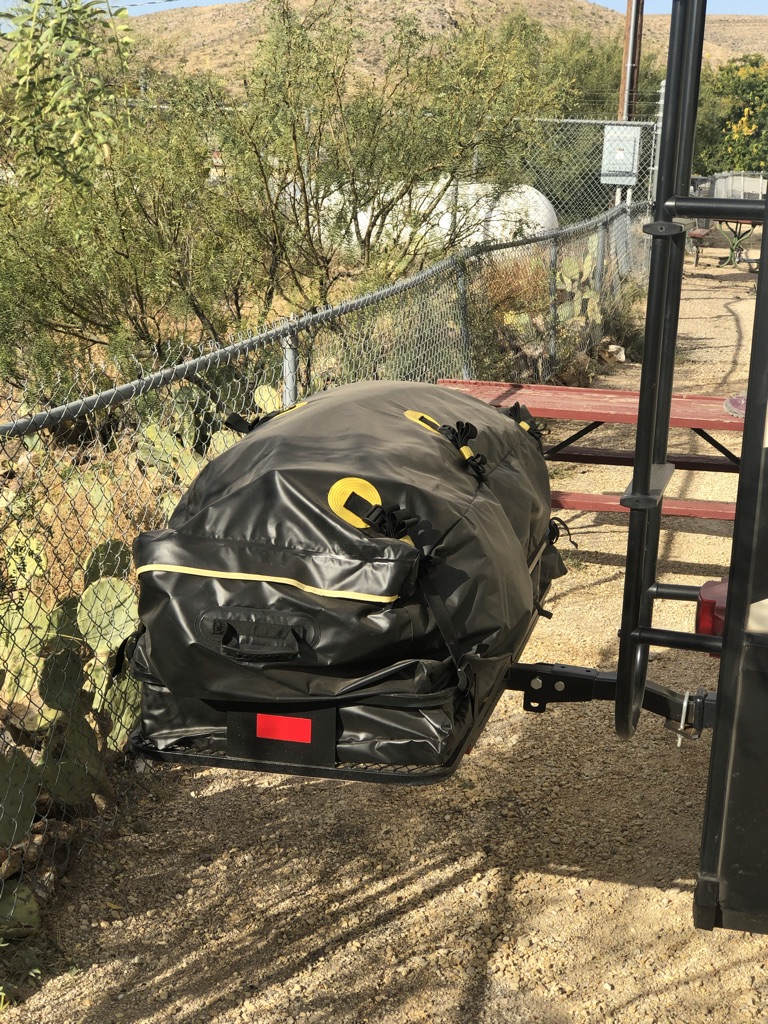
To help relocate some of the weight from the front of the trailer to the rear of the axles, Rob purchased a hitch mounting rack, with a plastic bag to cover the load on the rack. We moved a bunch of the patio equipment from the basement out to this rack prior to setting out.
Modifications to Clyde:
Truck Bed Covering:
Prior to picking up the trailer, Clyde had a fiberglass A.R.E. cap over the truck bed that provided weatherproof storage. The cap unfortunately interfered with using the truck bed for a hitch assembly. The first step was to remove the cap, and store it. Nick and Aliza now have the cap stored in their upper paddock area.
During our summer stay at Oxbow in Deering NH, we purchased a rollup tonneau cover to protect the contents of the truck bed from the weather when we are not towing the trailer.
Truck & Trailer Hitch:
In addition to changes we made to the trailer, the truck needed additions to enable us to undertake this travel.
First was a hitch. Typically 5th Wheel trailers are connected to truck beds with a 5th Wheel hitch. These look like the plate hitches used in the tractor trailer industry to hook trucks up to all the numerous types of trailer loads. They are connected to the truck frame, and have a large plate and locking receiver to which a trailers matching king pin and plate connect. For RVs these truck hitches can weigh up to around 250 pounds or more. As a result, they usually are installed and stay mounted in the bed of the truck even when people are not towing a trailer.
Rob studied another variation on hitches made by Andersen. These adapt the trailer’s king pin to a ball receiver and use what is called a goose ball. Goose ball hitches are often seen on livestock trailers. Anderson’s adaption for the 5th wheel market provides a welded metal pyramid to support the goose ball up at the correct hight off the truck bed, for connecting to their king pin adapter. The pyramid is designed to fit and lock into a standard truck rail system.
Since Clyde came with factory installed “pucks” (frame mounted mounting points), Rob was able to purchase a Reese truck rail system weighing 70 pounds, and an Anderson hitch which weighs 40 pounds. The two parts are easily separable, and enable us to install and uninstall the hitch assembly when not towing the trailer.
Kitty Transport:
Our plan has been to travel with the cats. They are our friends, and we could not imagine leaving them behind in a kennel or giving them away. At the same time, we felt that being cooped up in the standard cat carrying box for 6 to 10 hours a day, day after day, would be unfair to them. Letting them roam free would be unfair to us and very dangerous as they could get underfoot (literally).
Luckily, Rob found a medium sized, folding, dog crate at the Carlisle transfer station. He brought it home and we proceeded to modify it into the Kitty Transporter. We made a shelf with a passage hole, covered it in carpeting, and installed it half way up the crate. We bought a large plastic tub, in which we cut a opening to become a littler box for the cats. Then we cut a doorway in the back end of the dog crate, and installed a flap door, to enable the cats to travel to the litter box. This set of items were then elevated in the back seat area of the truck on shelves Rob made, so that the cats would be able to see out the truck windows.
Adding a “non spill” water bowl, and their beds, has made the Kitty Transporter into their own safe travel space.
Continue reading via the following pages:

